|
|
Configuring and Viewing Log Files
| |
You can set up different types of log files to record server activity.For
a description of the log files and their parameters, see About
Log Files.
|
|
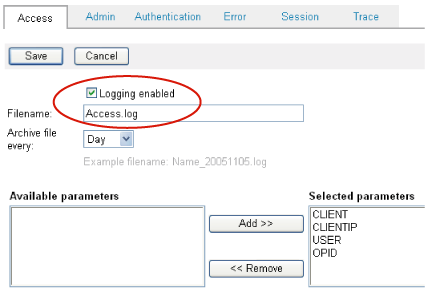
Enabling a log file to track client access
|
To set up log files
1
On the Manage Servers page, in the left-hand column, select a server.
2
Click Logs.
3 On
the Manage Logs page, select the log and then click Configure.
4 On
the Configure Logs page, click the tab for the log file you want
to configure.
5 To
enable the log file, make sure that Logging Enabled is selected.
6 Optional:
Under File Name, change the filename for the log file.
7 Select
the frequency to create an archive file (day, month, year).
8 Under
Available Parameters, select the parameters that you want to log
and click Add.
8 Repeat
for any other log files you want to configure for this server.
|
| |
You can view the logs you have set up.
|
|
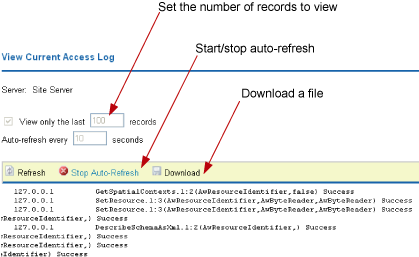
Viewing the client access log file
|
To view log files
1
On the Manage Servers page, in the left-hand column, select a server.
2
Click Logs.
The Manage Logs page opens. This
page allows you to view archived logs as well as the current (live)
logs. Note: The rest of this procedure assumes you want to view
the current logs.
3 Click
the Current (live) tab.
4 Select
the log you want to view and click View.
The log opens in a separate window.
The log window has controls to:
- View the last n records.
- Refresh the log.
- Autorefresh at a specified interval.
- Download a file of the log.
|
|
